Configure Your Mac for High-Performance Video Editing and Creative Work

Setting Up a High-Performance Creative Workflow on macOS
This guide covers the specific system configurations, hardware connections, and software tweaks required to turn a MacBook Pro or Mac Studio into a professional-grade editing workstation. We'll look at how to manage thermal throttling, optimize disk speeds, and ensure your peripherals don't become a bottleneck during heavy render cycles.
When I worked at the Genius Bar, the most common complaint from creative professionals wasn't that their Macs were slow—it was that they didn't know how to handle the heat or the data throughput. A high-resolution video timeline isn't just a file; it's a constant stream of massive data packets. If your settings aren't dialed in, you're going to see dropped frames and stuttering playback, regardless of how much RAM you have.
Before you start, ensure your macOS is updated to the latest stable version. While beta builds offer new features, they are notoriously unstable when handling large-scale cache files and high-bitrate footage. You need stability more than you need a shiny new emoji set.
How Do I Speed Up Video Playback in Premiere Pro and Final Cut Pro?
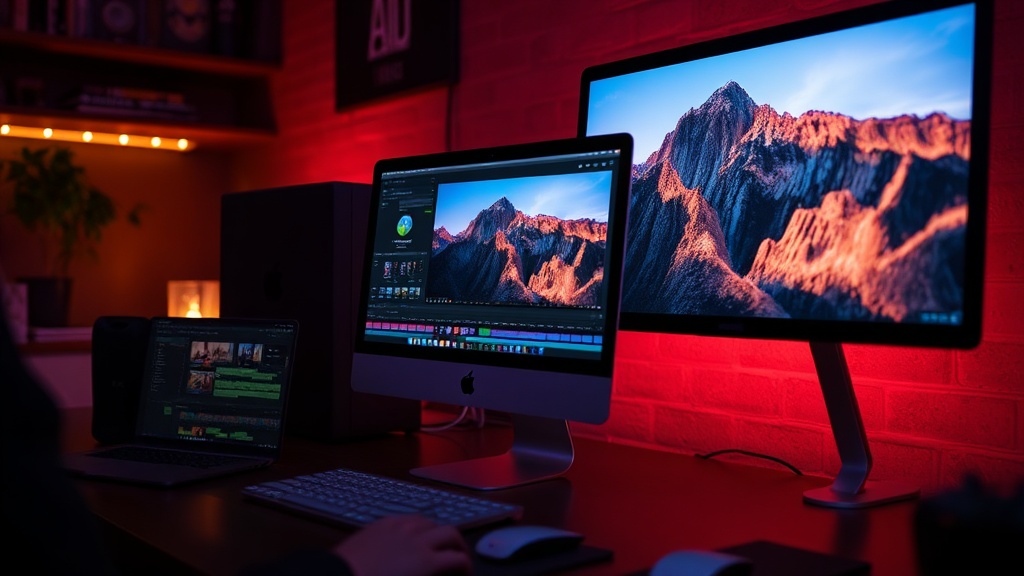
Playback lag is usually a symptom of one of three things: disk speed, RAM availability, or CPU thermal limits. If you're editing 4K or 8K footage, your Mac is working hard to decompress those files in real-time. To make this smoother, you need to change how the software interacts with your hardware.
- Use Proxy Workflows: Don't try to edit raw files directly if you're on a laptop. Create low-resolution proxies (usually ProRes Proxy or H.264) so the computer only has to process a fraction of the data during the actual edit.
- Optimize Scratch Disks: Never edit directly off your internal drive if you're working on a large project. Use an external NVMe SSD via Thunderbolt. This keeps the OS and your system files separate from the massive read/write demands of your media files.
- Allocate More RAM: In applications like Adobe Premiere Pro, go to Preferences > Memory and ensure the application is granted as much available memory as possible. Leave just enough for the system to keep running, but don't starve the OS.
If you're using Final Cut Pro, the optimization is more automated, but you still need to watch your storage. If your "Scratch Disk" or "Cache" fills up your internal drive, the system will slow down to a crawl. Keep at least 20% of your internal SSD free at all times to allow for swap files and temporary data.
Which External Drive Setup Is Best for macOS?
This is where most people get it wrong. They buy a cheap USB-C portable SSD and wonder why their 10-bit footage is lagging. Most "portable" drives are actually limited by the controller inside them. For a professional setup, you want a drive that supports Thunderbolt 3 or 4 protocols.
A standard USB-C drive might give you 500MB/s or 1000MB/s. That sounds fast, but once you start multiple streams of high-bitrate footage, that speed drops. A true Thunderbolt drive can hit 2800MB/s or more. This makes a massive difference when scrubbing through a timeline. You can check the technical specifications of drives through